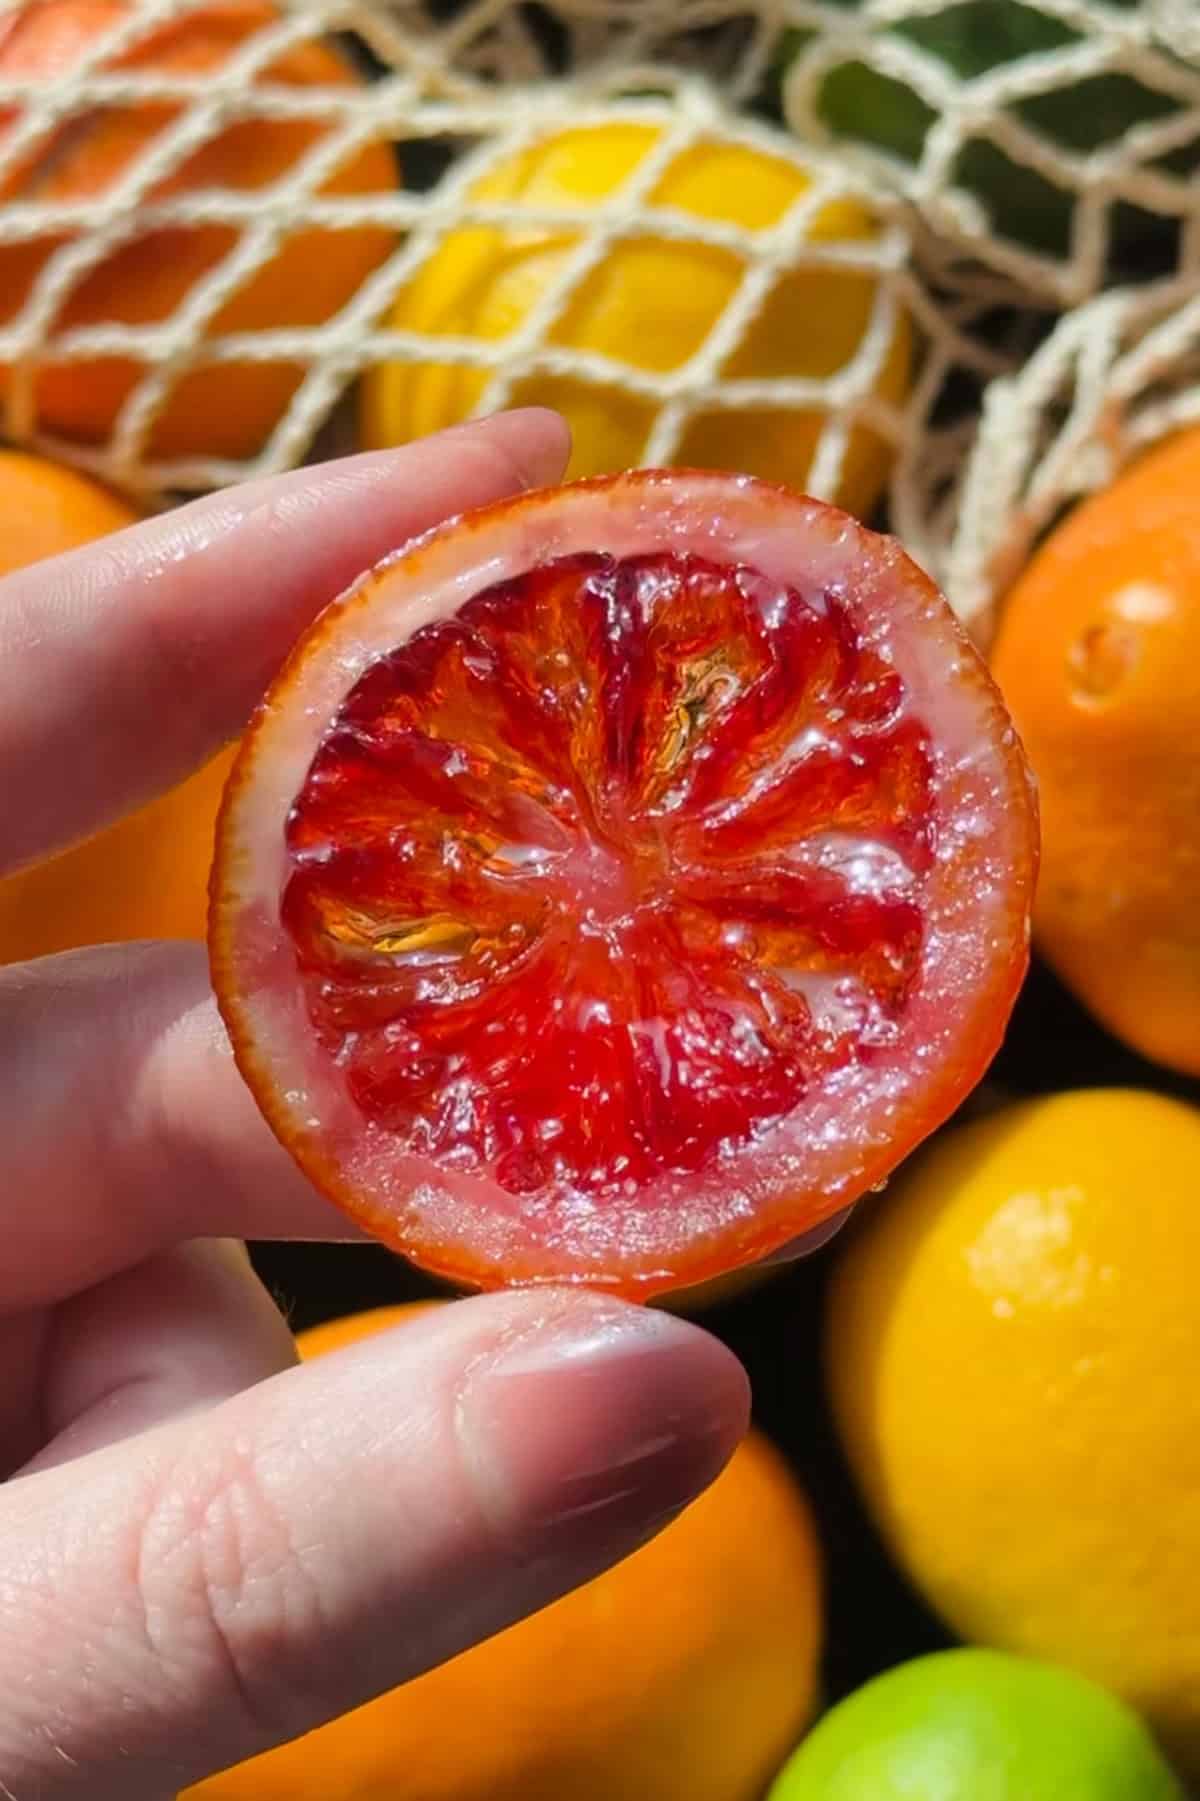
Candied blood orange slices are one of those simple pastry techniques I come back to every winter during citrus season! With just citrus, sugar, and a little patience, fresh blood oranges slowly transform into glossy, jewel-toned slices that are equal parts sweet, bitter, and aromatic.
Candying citrus was one of the first foundational techniques I learned in pastry school, and it’s one I’ve relied on ever since. It’s a slow, straightforward process that teaches patience and precision - you're gently simmering slices in syrup until the peel softens and the fruit becomes translucent! There’s nothing complicated about it, but the transformation is significant, and it’s a technique that shows up again and again throughout history and in professional kitchens for good reason!
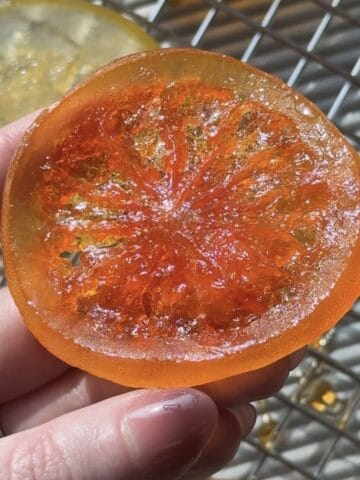
Blood oranges work especially well here. Their natural bitterness mellows as they candy, while the color and subtle floral notes deepen rather than disappear. This is one of those base recipes I return to every winter because it’s reliable, versatile, and useful across so many applications. From decorating cakes to garnishing drinks or saving the syrup for later use. If you’re new to candying citrus, this is a solid place to start!!
📖 Step by Step Instructions
This candied blood orange recipe is quick and simple to execute and a delicious treat during the holiday season. Here’s how they’re made with this simple process:
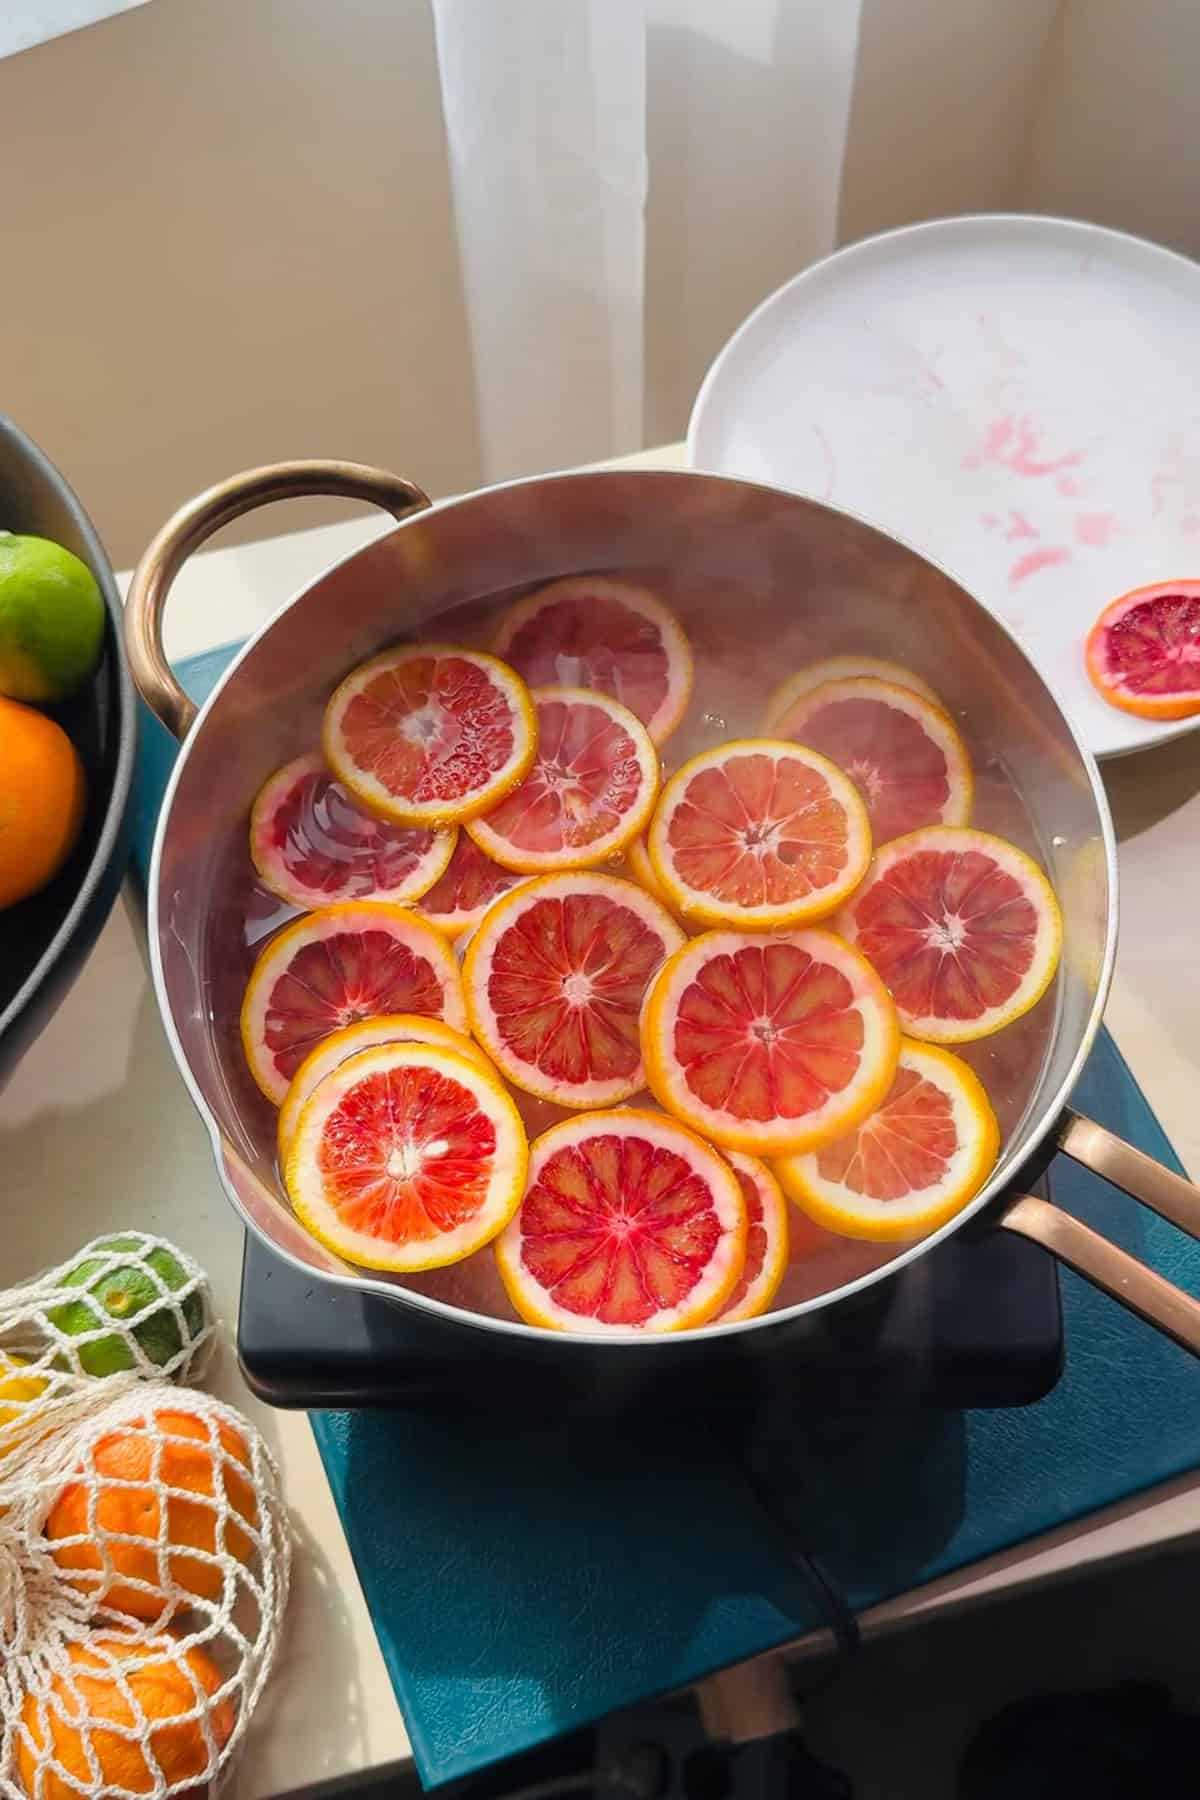
Step 1: Prep. Slice blood oranges into thin, uniform slices. Boil a few cups of water in a saucepan or large pot. While your water is heating, prepare an ice bath by mixing water and lots of ice in a medium-sized bowl. Prepare a cooling rack with parchment paper underneath the rack to catch any syrup drippings.
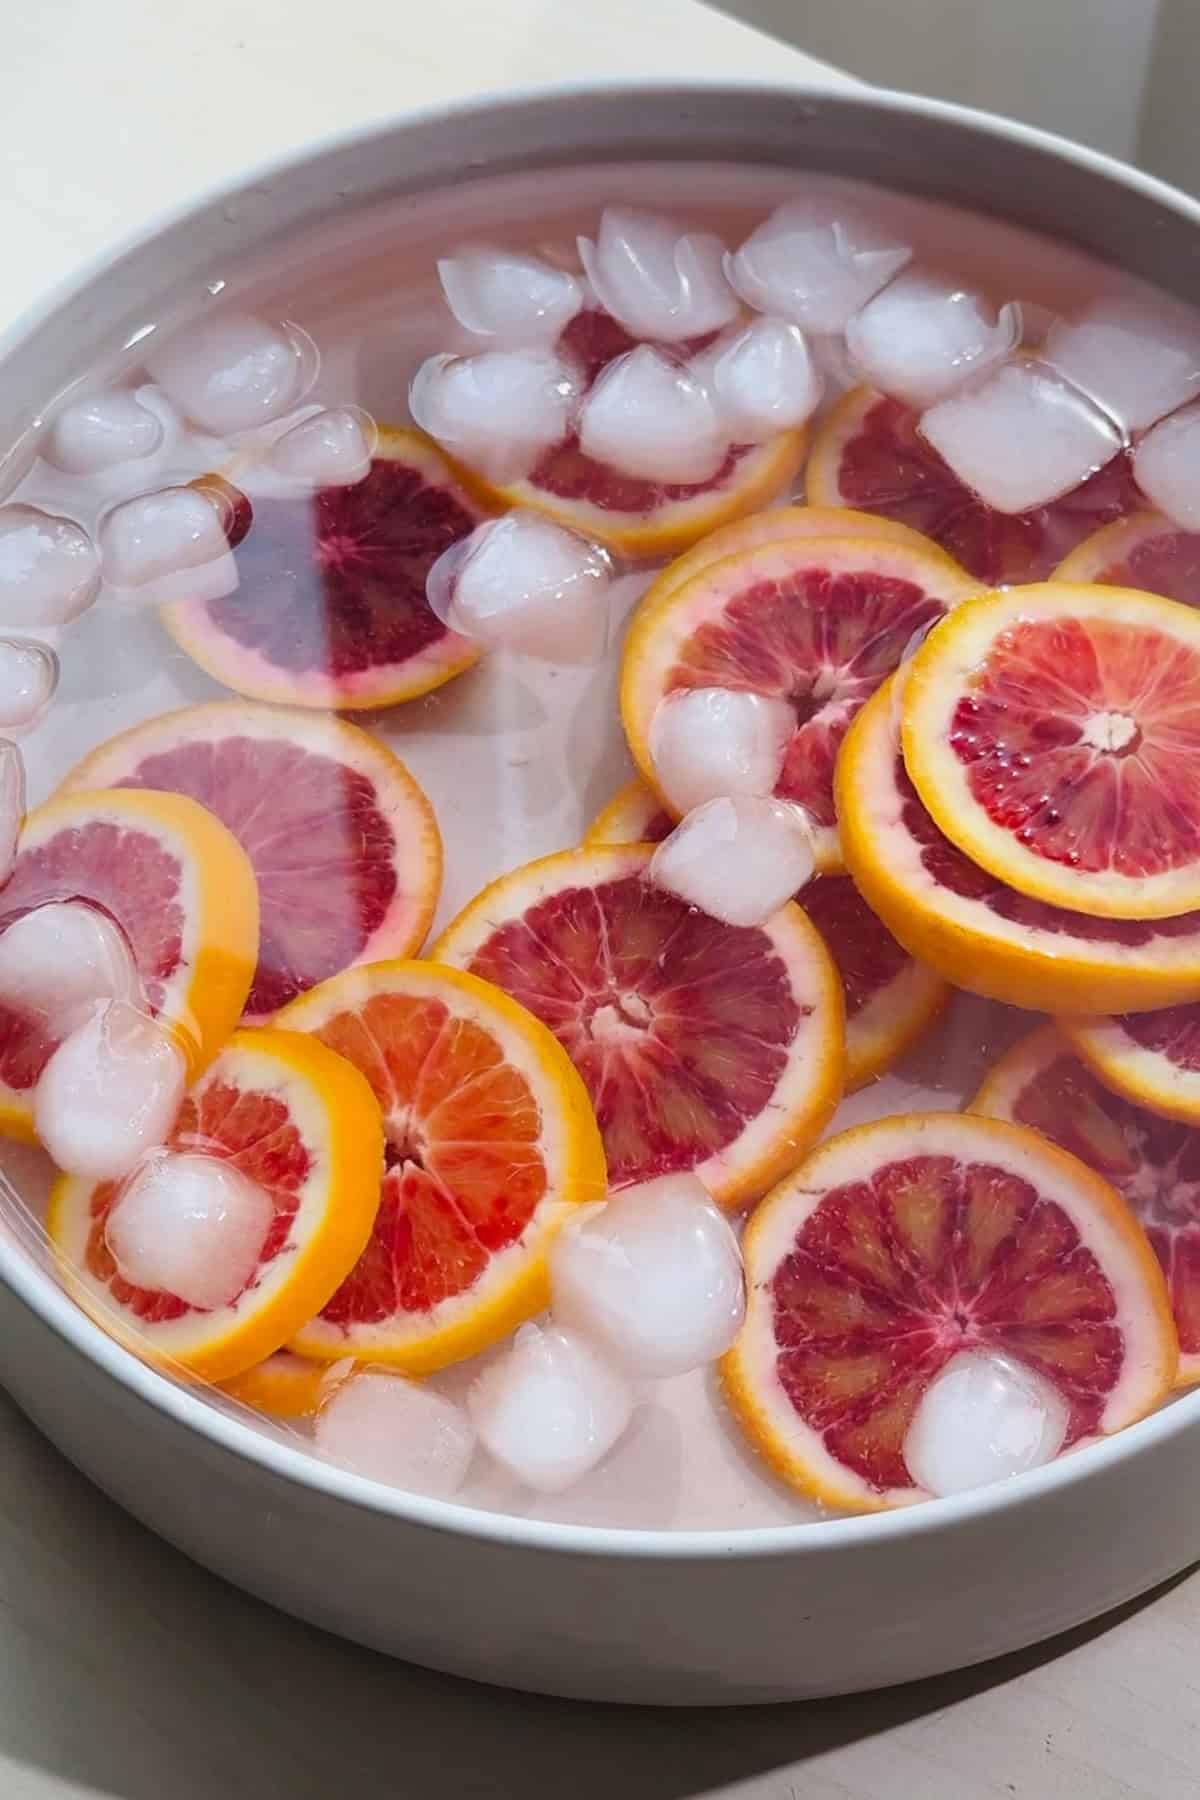
Step 2: Boil. Drop the relatively thin slices of citrus fruit into the rolling boil of water in a large skillet and allow them to boil for 2 minutes before removing them and placing them into your prepared ice bath. This blanching process prevents a bitter taste from occurring.
Step 3: Make Sugar Syrup. Meanwhile, to start the candying process, place the granulated sugar and water in a saucepan, mix to combine, and bring to a simmer and then a boil. Make sure not to mix the syrup after the initial stir of the cooking process, otherwise, the syrup could crystallize and seize.
Step 4: Candy Blood Oranges. Once the syrup has reached a temperature of about 220F, place the citrus slices in the syrup.
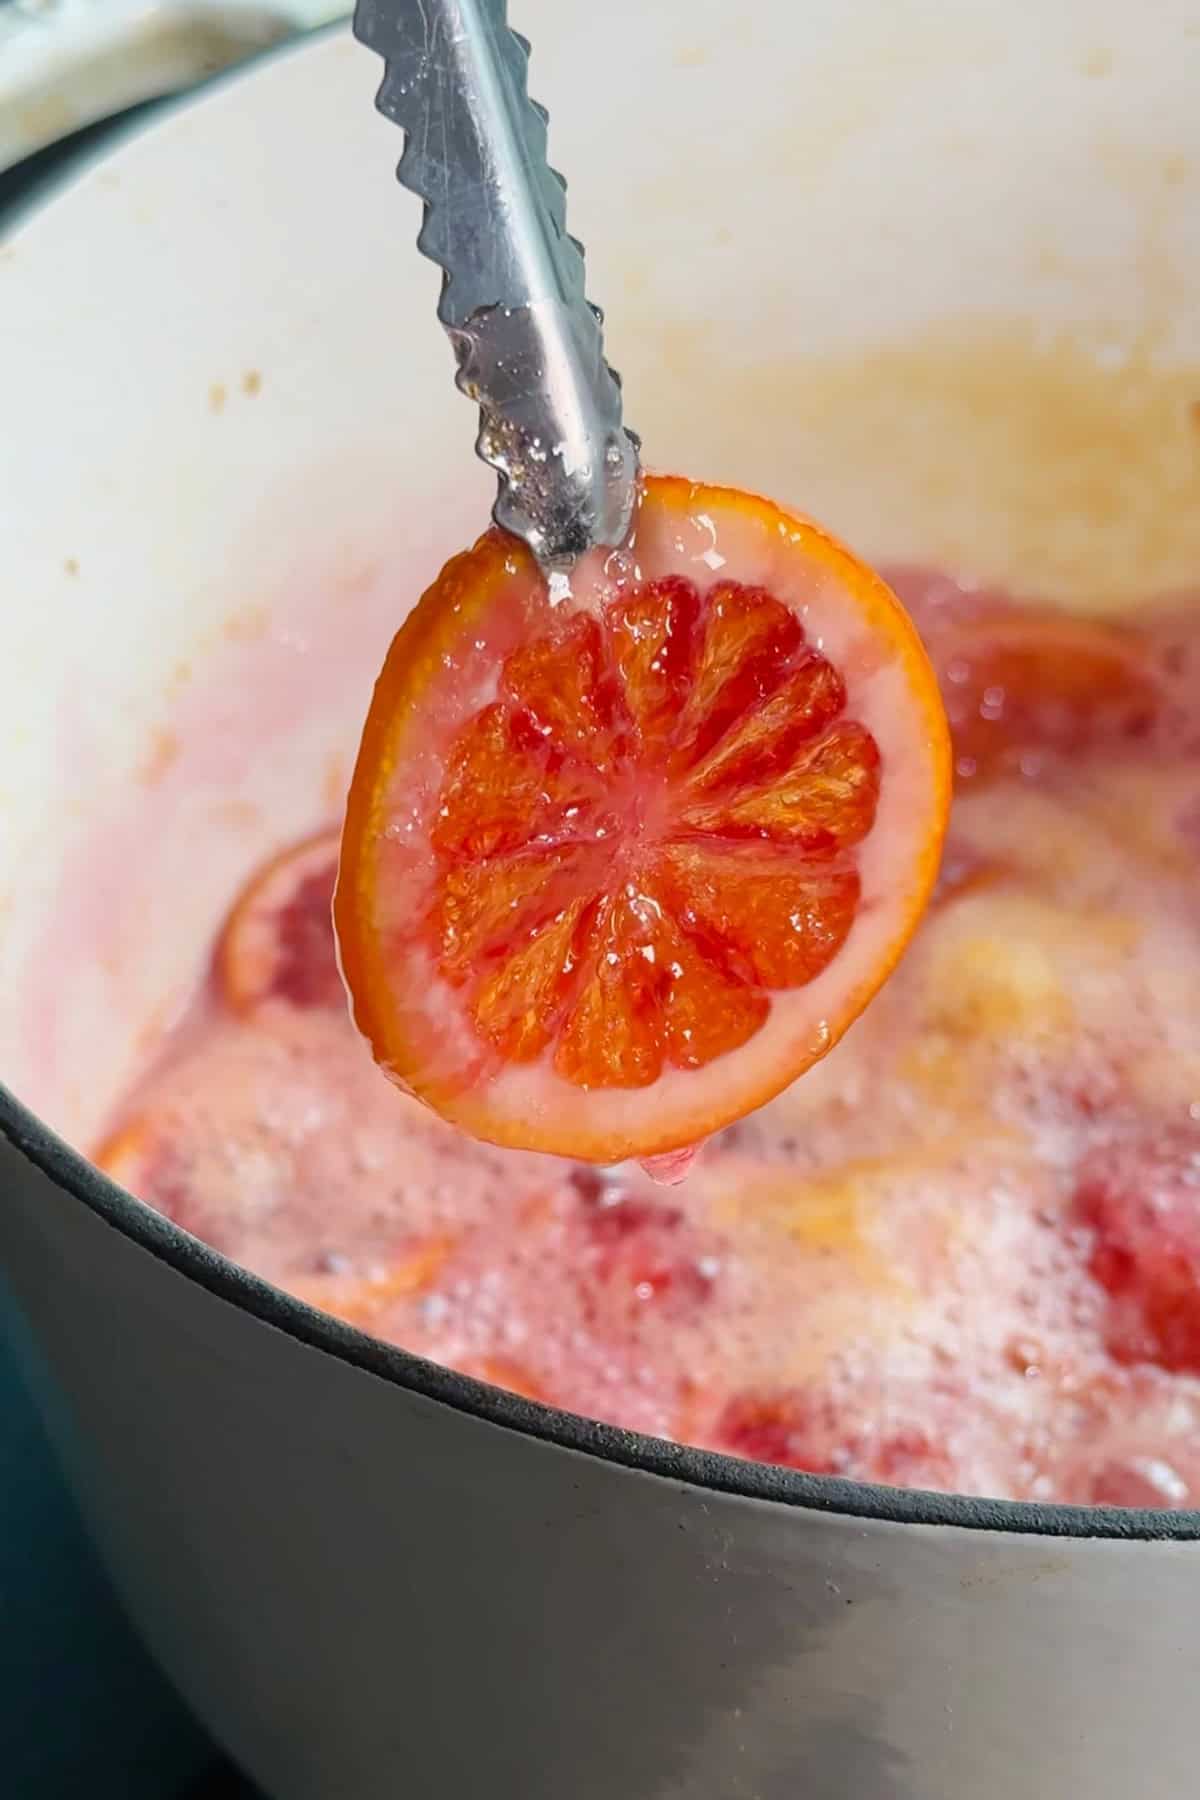
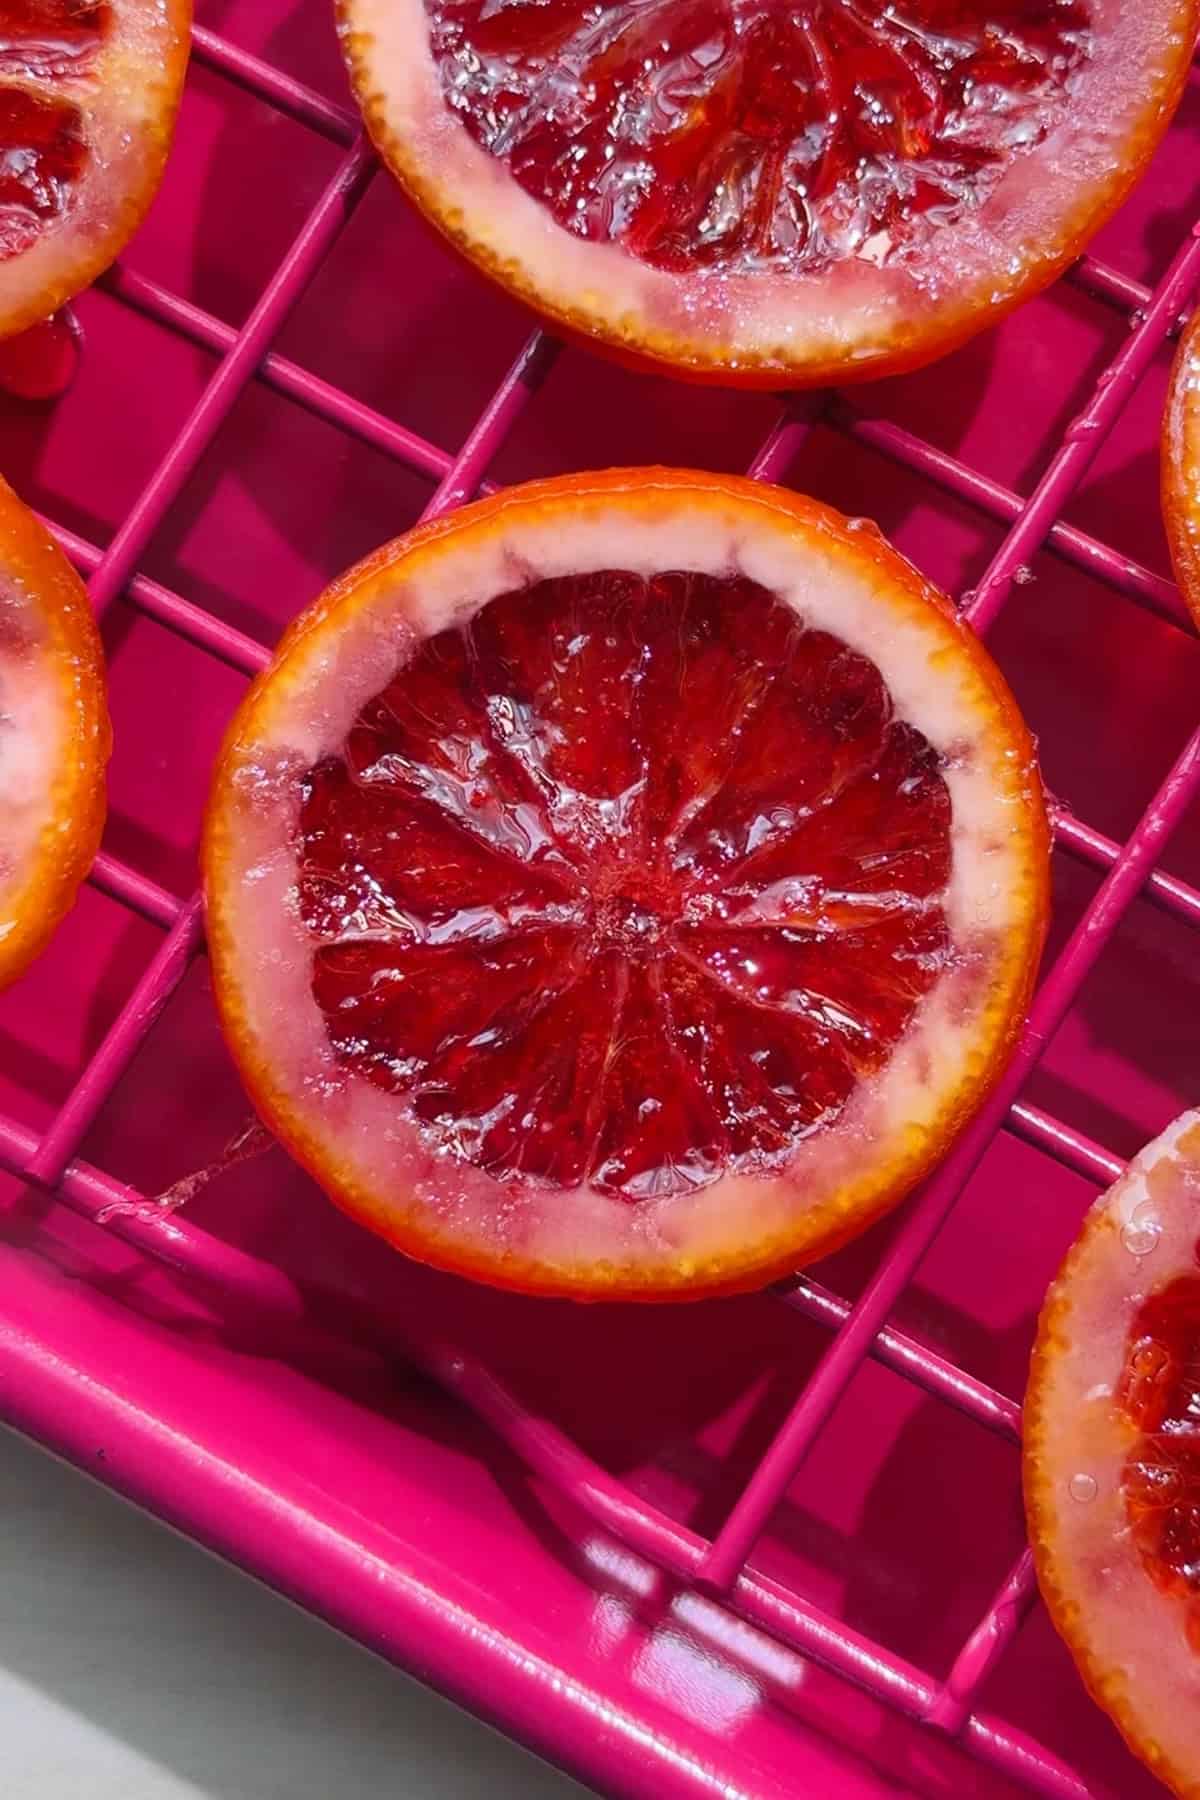
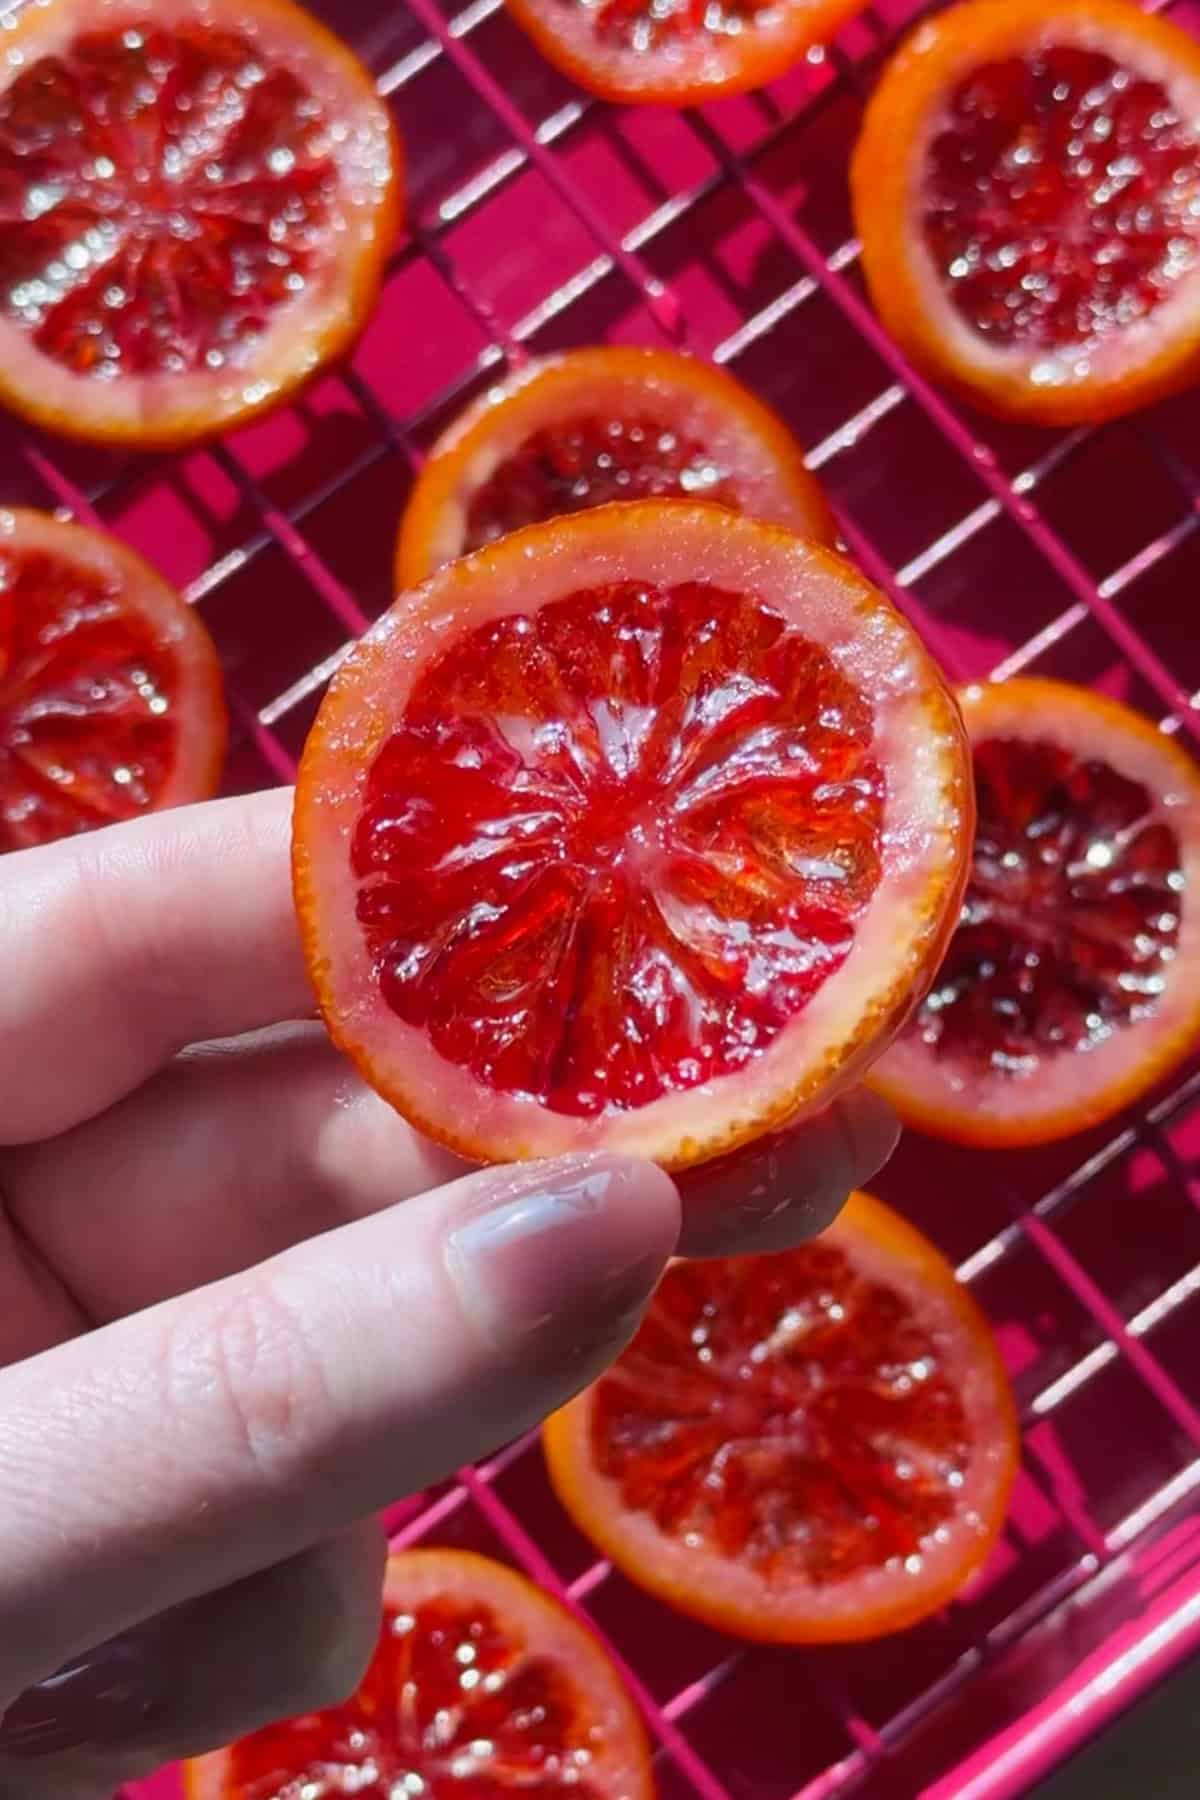
Step 5: Cook. Continue to heat the syrup and blood orange slices until it reaches 245F, then turn off the heat. Remove the slices one by one from the sugar syrup using a fork, food tweezers or a utensil that feels natural to you and place each slice in a single layer on the prepared wire rack layered on a baking sheet for best results.
Step 6: Cool. Let the blood oranges to cool for 2 hours until they are room temperature before enjoying, adding to ice cream, a martini, chocolate pudding, or dipping them in melted dark chocolate for a sweet treat!
Storing and My Top Tips
- Best ways to store candied citrus: once fully cooled and dried, store your candied blood orange slices in an airtight container at room temperature for up to 1 week, or refrigerate for 2–3 weeks. For longer storage, freeze between layers of parchment for up to 3 months!
- Allowing to fully set: Let the slices air-dry on a wire rack for several hours (or overnight) before storing. This prevents excess moisture, which can cause stickiness or crystallization in storage.
- Save the syrup! The leftover blood orange syrup is liquid gold. Thin with a bit of hot water, strain and refrigerate it for up to 2 weeks. Then use it in cocktails, mocktails, tea, or brushed onto cakes for extra citrus flavor!
- Use thinner slices for best texture. Aim for slices about ¼-inch thick. Thinner slices candy more evenly, dry faster, and create that jewel-like finish that’s perfect for garnishing desserts or drinks.
How to Store Candied Citrus
Once you’ve made you're perfect little candied slices, the right storage will keep them glossy, flexible, and ready to garnish at a moment’s notice! The key for every method? Layering with parchment paper! This prevents the slices from sticking and protects those delicate edges from breaking.
Depending on your needs, I've outlined my three favorite storage methods below!
Room Temperature (Best for Short-Term Storage): If you plan to use them within a few days, store the slices in an airtight container at room temperature, layering parchment between each row of citrus! Keep the container away from direct sunlight, and they will last for a few days depending on humidity.
Refrigerator (Great for 1–2 Weeks): For longer storage, place the parchment-layered slices in an airtight container in the fridge. The cooler temperature helps maintain their texture and prevents excess moisture buildup, which is essential. Before using, I let them sit at room temperature for about 10–15 minutes so they soften slightly and peel away cleanly from the parchment!
Freezer (Long-Term Storage): Arrange the slices in parchment-lined layers inside a freezer-safe container or plastic bag. Remove as much air as possible to prevent freezer burn and they’ll keep for up to 2–3 months! When ready to use, allow them to thaw at room temperature (still on the parchment) until flexible.
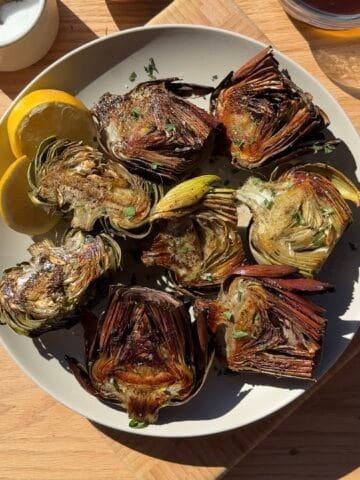
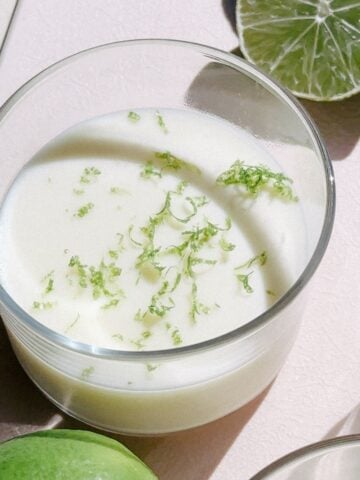
More Recipes & Garnishes


If you try the recipe for these Candied Blood Oranges, please leave a 🌟 review and share your creation with me on social media! You can find me on Instagram, Facebook, Youtube and Pinterest - for more delicious recipes sent straight to your inbox, sign up for my newsletter! 📧

Candied Blood Orange Slices
Equipment
Ingredients
- 2-3 Blood Oranges, sliced thinly, ¼ inch
- Ice bath
- 3 cups (700 g) Water
- 1 ½ cups (300 g) Granulated Sugar
Instructions
- Start by boiling a few cups of water in a saucepan. While your water is heating, prepare an ice bath (water and ice in a medium sized bowl).Ice bath
- Once boiling, drop the blood orange slices into the boiling water and allow them to boil for 2 minutes before removing them and placing them into an ice bath.2-3 Blood Oranges
- Meanwhile, place the granulated sugar and water in a heavy bottom stainless steel saucepan or dutch oven, mix to combine and bring to a boil. Make sure not to mix the syrup after the initial stir, otherwise the syrup could crystallize. The pot matters here, you want to make sure that your syrup will heat evenly!3 cups Water, 1 ½ cups Granulated Sugar
- Prepare a cooling rack with parchment paper underneath the rack to catch any syrup drippings.
- Once the syrup has reduced and reached a temperature of 218-220F/104C (this should take about 20 minutes using a gas stove), place the citrus slices in the syrup.
- Continue to heat the syrup and blood orange slices until it reaches 245F/118C and starts foaming (this should take an additional 20 minutes using a gas stove, but make sure to stay nearby in case caramelization starts to happen), then turn off the heat. Remove the slices one by one using a fork, food tweezers or a utensil that feels natural to you and place each slice on the prepared cooling rack.
- For easy cleanup, add about a cup of water into your saucepan with the leftover syrup and continue to heat for a few minutes. The added water will help to dissolve any crusted sugar bits that are clinging to your pan.
- Let the slices cool for 2 hours before enjoying.
- *Noticing that your blood oranges are still quite sticky? I've found that usually means the temperature of the syrup & citrus didn't reach the candying stage at 245F! Not to worry - you can dry them out in the oven on your lowest temp if you’re finding that yours came out too sticky - just make sure to check/flip them frequently so they don’t burn!
Video
Notes
- Mind your thermometer! Sugar goes through several stages during the candy-making process. You don’t want to add the blood oranges to the syrup until it hits about 220F (the thread stage), and you want to heat the candied citrus slices until they hit 245F (the firm ball stage). If you don’t have a candy thermometer, you’ll need a bowl of cold water.
- Prevent crystalization in the sugar syrup by leaving it alone. After the initial stir to incorporate the sugar and water, don’t stir it any further.


Linda
Made these and came out great - planning to add to my cocktail tonight. Thanks!
Lauren
Obsessed with this color!! I’ve never candied blood oranges before, I can’t wait to try this!!